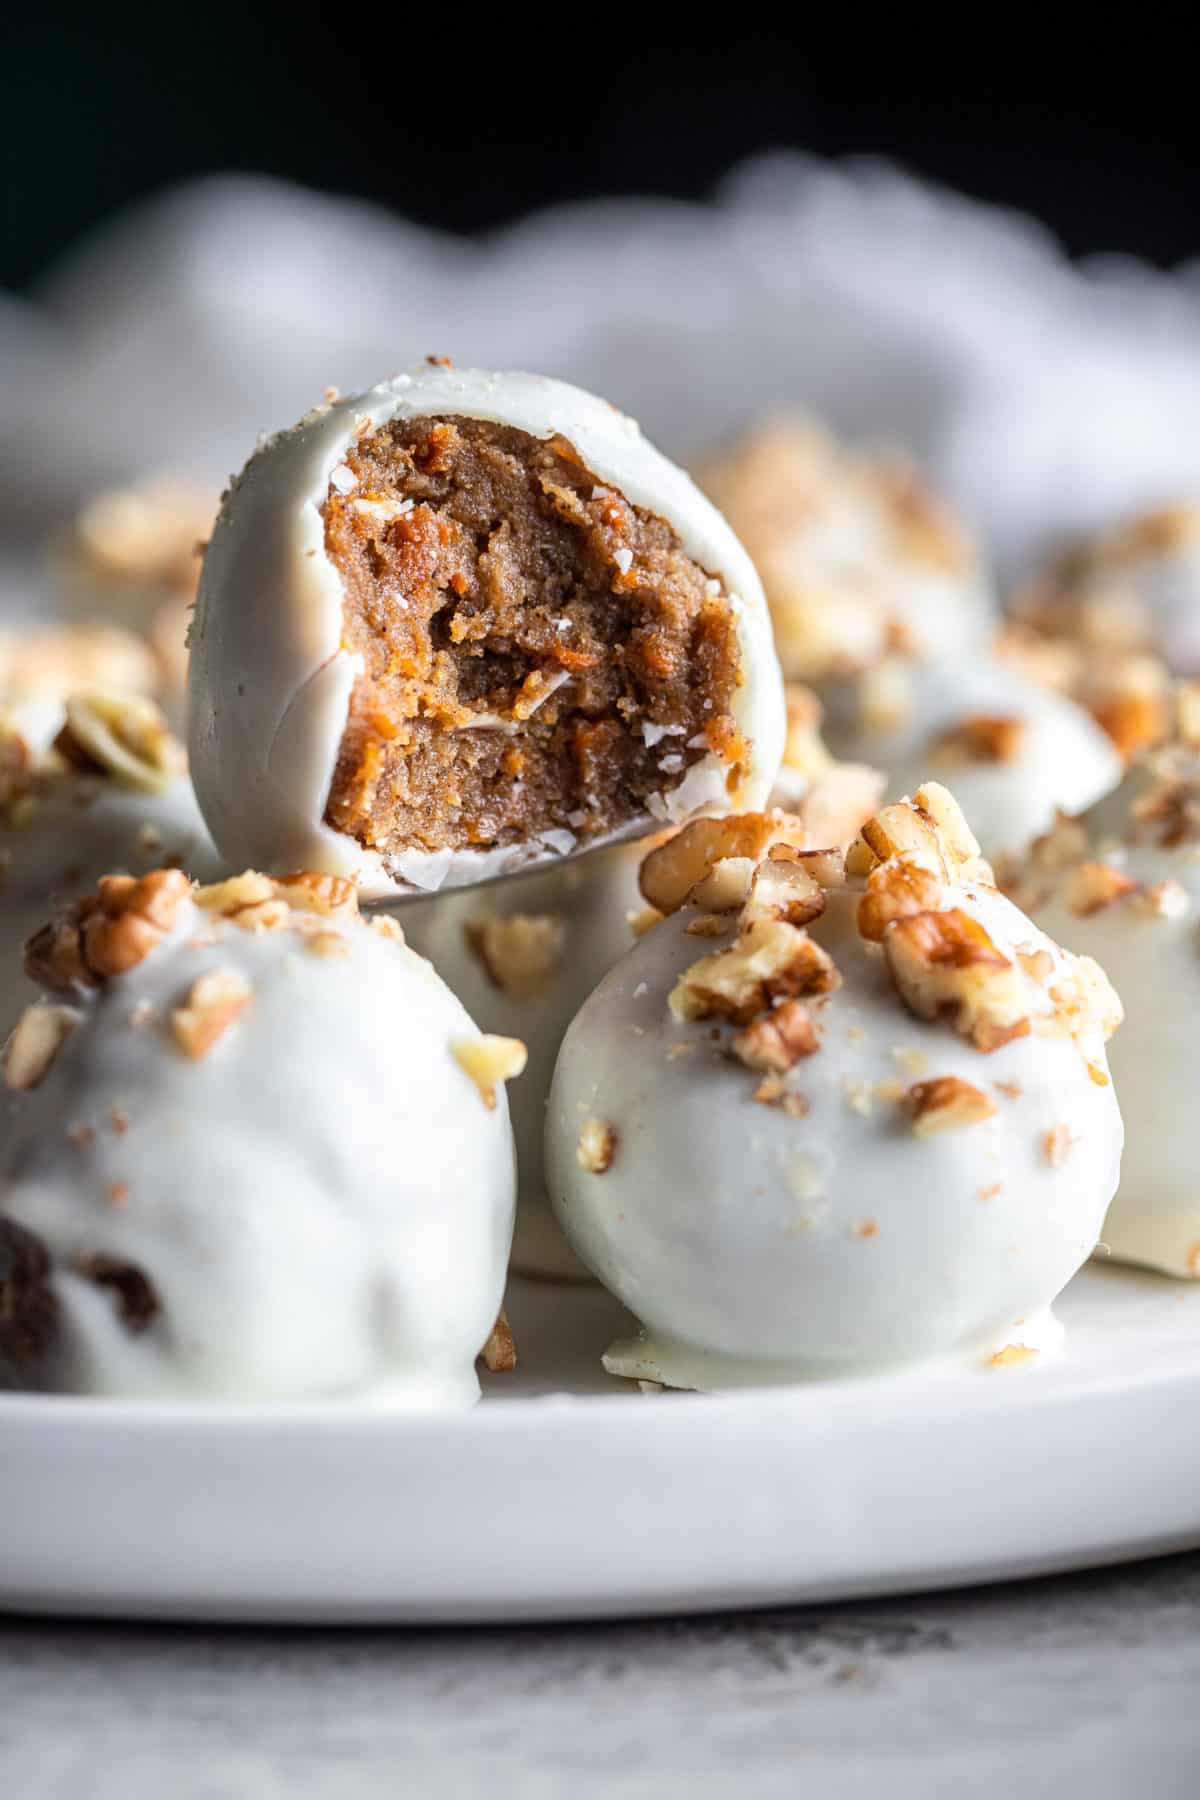
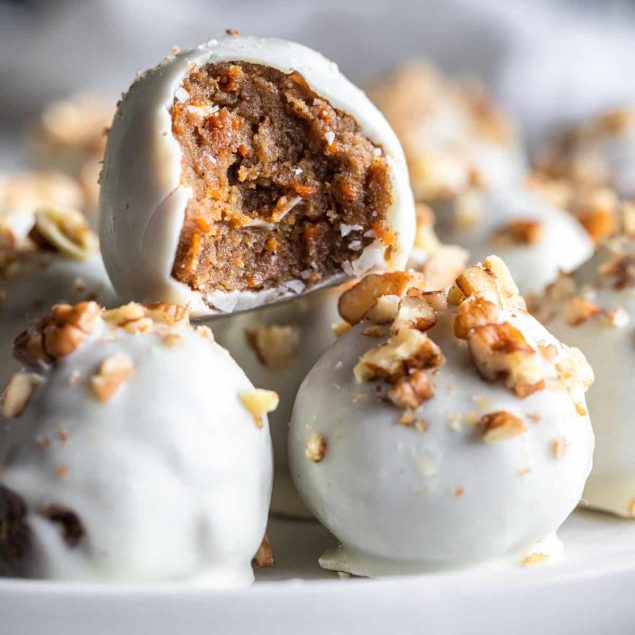
These Gluten-Free Carrot Cake Truffles are deliciously moist and coated with a sweet candy layer. They’re a great snack and make the perfect edible gift.
Besides cheesecake, there’s nothing I love more than a thick slice of moist, tender carrot cake—the kind with at least two layers, a luscious and tangy cream cheese frosting, and just a whisper of spice. If I’m out for coffee with friends and spot a slice of carrot cake on the dessert counter, you can bet temptation will get the best of me. In fact, I’ll often order two slices—one for now and one to savor later. Though, truth be told, more often than not, that second slice barely makes it home, as I end up greedily devouring it in the car with a gusto that might suggest I hadn’t eaten in days.
My love for carrot cake is no secret, and my ever-growing collection of carrot cake (and carrot cake-inspired) recipes proves it. There’s carrot cake oatmeal, carrot cake ice cream, carrot cake cupcakes, carrot cake cookies, carrot cake cheese dip—and yes, even a carrot cake smoothie. And now, I’ve happily added these dense and positively addictive gluten-free carrot cake truffles to the list. Packed with grated carrots and coated in a decadent candy layer, these truffles are not only a joy to indulge in, but they also make beautiful edible gifts, whether for birthdays, holidays, or as a delicious souvenir for guests to take home after a dinner party.
Are These Gluten-Free Carrot Cake Truffles Healthy?
Let’s cut to the chase—not really. These truffles don’t skimp on the sugar. The white melting wafers are mostly refined sugar, and although the cake calls for coconut sugar (which is unrefined and has a lower glycemic index than white sugar), it’s still a sugar. Unfortunately, the grated carrots (as healthy as they are!) or the fact that these truffles are gluten-free isn’t going to make up for that. So, moderation is key. And trust me, that’s easier said than done.
Beautifully Packaged Edible Joy
For a charming and personal touch, try arranging the truffles in mini mason jars, layering them with colorful tissue paper, and finishing with a pretty tag tied with ribbon. Or, for a minimalist yet chic touch, use small transparent boxes that showcase the truffles’ beauty. Tie them with twine and decorate with a fragrant sprig of rosemary. If you make these the size of a large marble, you can also repurpose a clean quail egg carton to hold the truffles, lining it with tissue paper and spray-painting the outside in gold. And, for a fun presentation, individually wrap the truffles in cellophane wrap, twisting the ends like a piece of candy and securing with sparkling ribbon.

How To Make Ahead And Store
These truffles should be kept refrigerated in an airtight container. They will stay good for up to 1 week. You can also freeze them in a Ziploc bag (flash-freezing them on a baking tray for 1 hour first) for up to 3 months.

Serving Suggestions
If you’re looking for other edible gift ideas, try Mini Avocado Cheesecake Truffles flavored with a touch of mint, these dense and fudgy Chocolate Truffles, or these festive Avocado Vegan Chocolate Truffles With Champagne.

Recipe
Ingredients
For the Cake:
- 1/2 cup coconut flour sifted (45 grams)
- 1/2 teaspoon baking soda
- 1/2 teaspoon baking powder
- 1 teaspoon cinnamon
- 1/8 teaspoon nutmeg
- 1/4 teaspoon salt
- 3 large eggs
- 2 tablespoons coconut oil melted
- 1/2 teaspoon vanilla extract
- 3/4 cup coconut sugar packed
- 1 1/4 cups grated carrots about 4 small carrots
To Hold the Truffles Together:
- 3 ounces reduced-fat cream cheese softened (6 tablespoons)
- 1 tablespoon light brown sugar packed
- 2 tablespoons honey
- 2 cups white melting wafers
- Unsweetened coconut flakes or chopped walnuts for garnish
Instructions
- Preheat your oven to 350 degrees Fahrenheit and line the bottom of a 9-inch pie plate with parchment paper, spraying the sides with cooking spray or coconut oil. Set aside.
- In a medium mixing bowl, stir together the sifted coconut flour, baking soda, baking powder, cinnamon, nutmeg, and salt until well combined. Set aside.
- In a large bowl, using an electric hand mixer, beat together the eggs, coconut oil, vanilla extract, and coconut sugar until light and fluffy.
- Stir in the coconut flour mixture, mixing until smooth and lump-free.
- Stir in the grated carrots.
- Pour the batter into the prepared pie plate, and let it stand 10 minutes before baking.
- Bake for 20-30 minutes, or until the top is lightly golden and a toothpick inserted in the center comes out clean.
- Let cool completely.
- Line a large cookie sheet with parchment paper
- In a large mixing bowl, beat together the softened cream cheese, brown sugar, and honey until smooth and creamy.
- Break the cooled cake into chunks and stir it into the mixture. I find it easier to get my hands in there and really mash up the cake, until it forms into a ball.
- Roll the cake into heaping 1-tablespoon-sized balls, placing on the prepared cookie sheet. Let them set in the refrigerator for at least 30 minutes.
- In a small bowl, melt the melting wafers according the package directions.
- Drop each cake ball into the melted candy one at a time, rolling them around to make sure they're completely covered.
- Gently lift the balls out with a fork and allow any excess coating to drip off.
- Transfer back to the parchment paper (a toothpick helps to push the truffle off the fork!) and sprinkle with coconut flakes or chopped walnuts.
- Place in the fridge for at least 30 minutes to set.
Nutrition Info:
Recipes written and produced on Food Faith Fitness are for informational purposes only.
Leave a Comment